If you're planning to build a lean to shed, the back wall is a critical component of the structure. It provides stability and support for the shed, and serves as a barrier against the elements. In this article, we will guide you through the process of building the back wall for your lean to shed, providing step-by-step instructions and tips to ensure a successful construction project. So, grab your tools and let's get started!
Materials and Tools You'll Need
Before you begin building the back wall of your lean to shed, make sure you have all the necessary materials and tools on hand. Here's a list of what you'll need:
- Pressure-treated lumber for framing, such as 2x4 or 2x6 boards
- Plywood sheets for sheathing, preferably 1/2 inch or thicker
- Nails or screws for framing and sheathing
- Level, square, and measuring tape for accurate measurements and leveling
- Circular saw or miter saw for cutting lumber
- Hammer or nail gun for securing lumber
- Safety goggles, gloves, and ear protection for safety
Step 1: Measure and Cut Lumber for Back Wall Framing
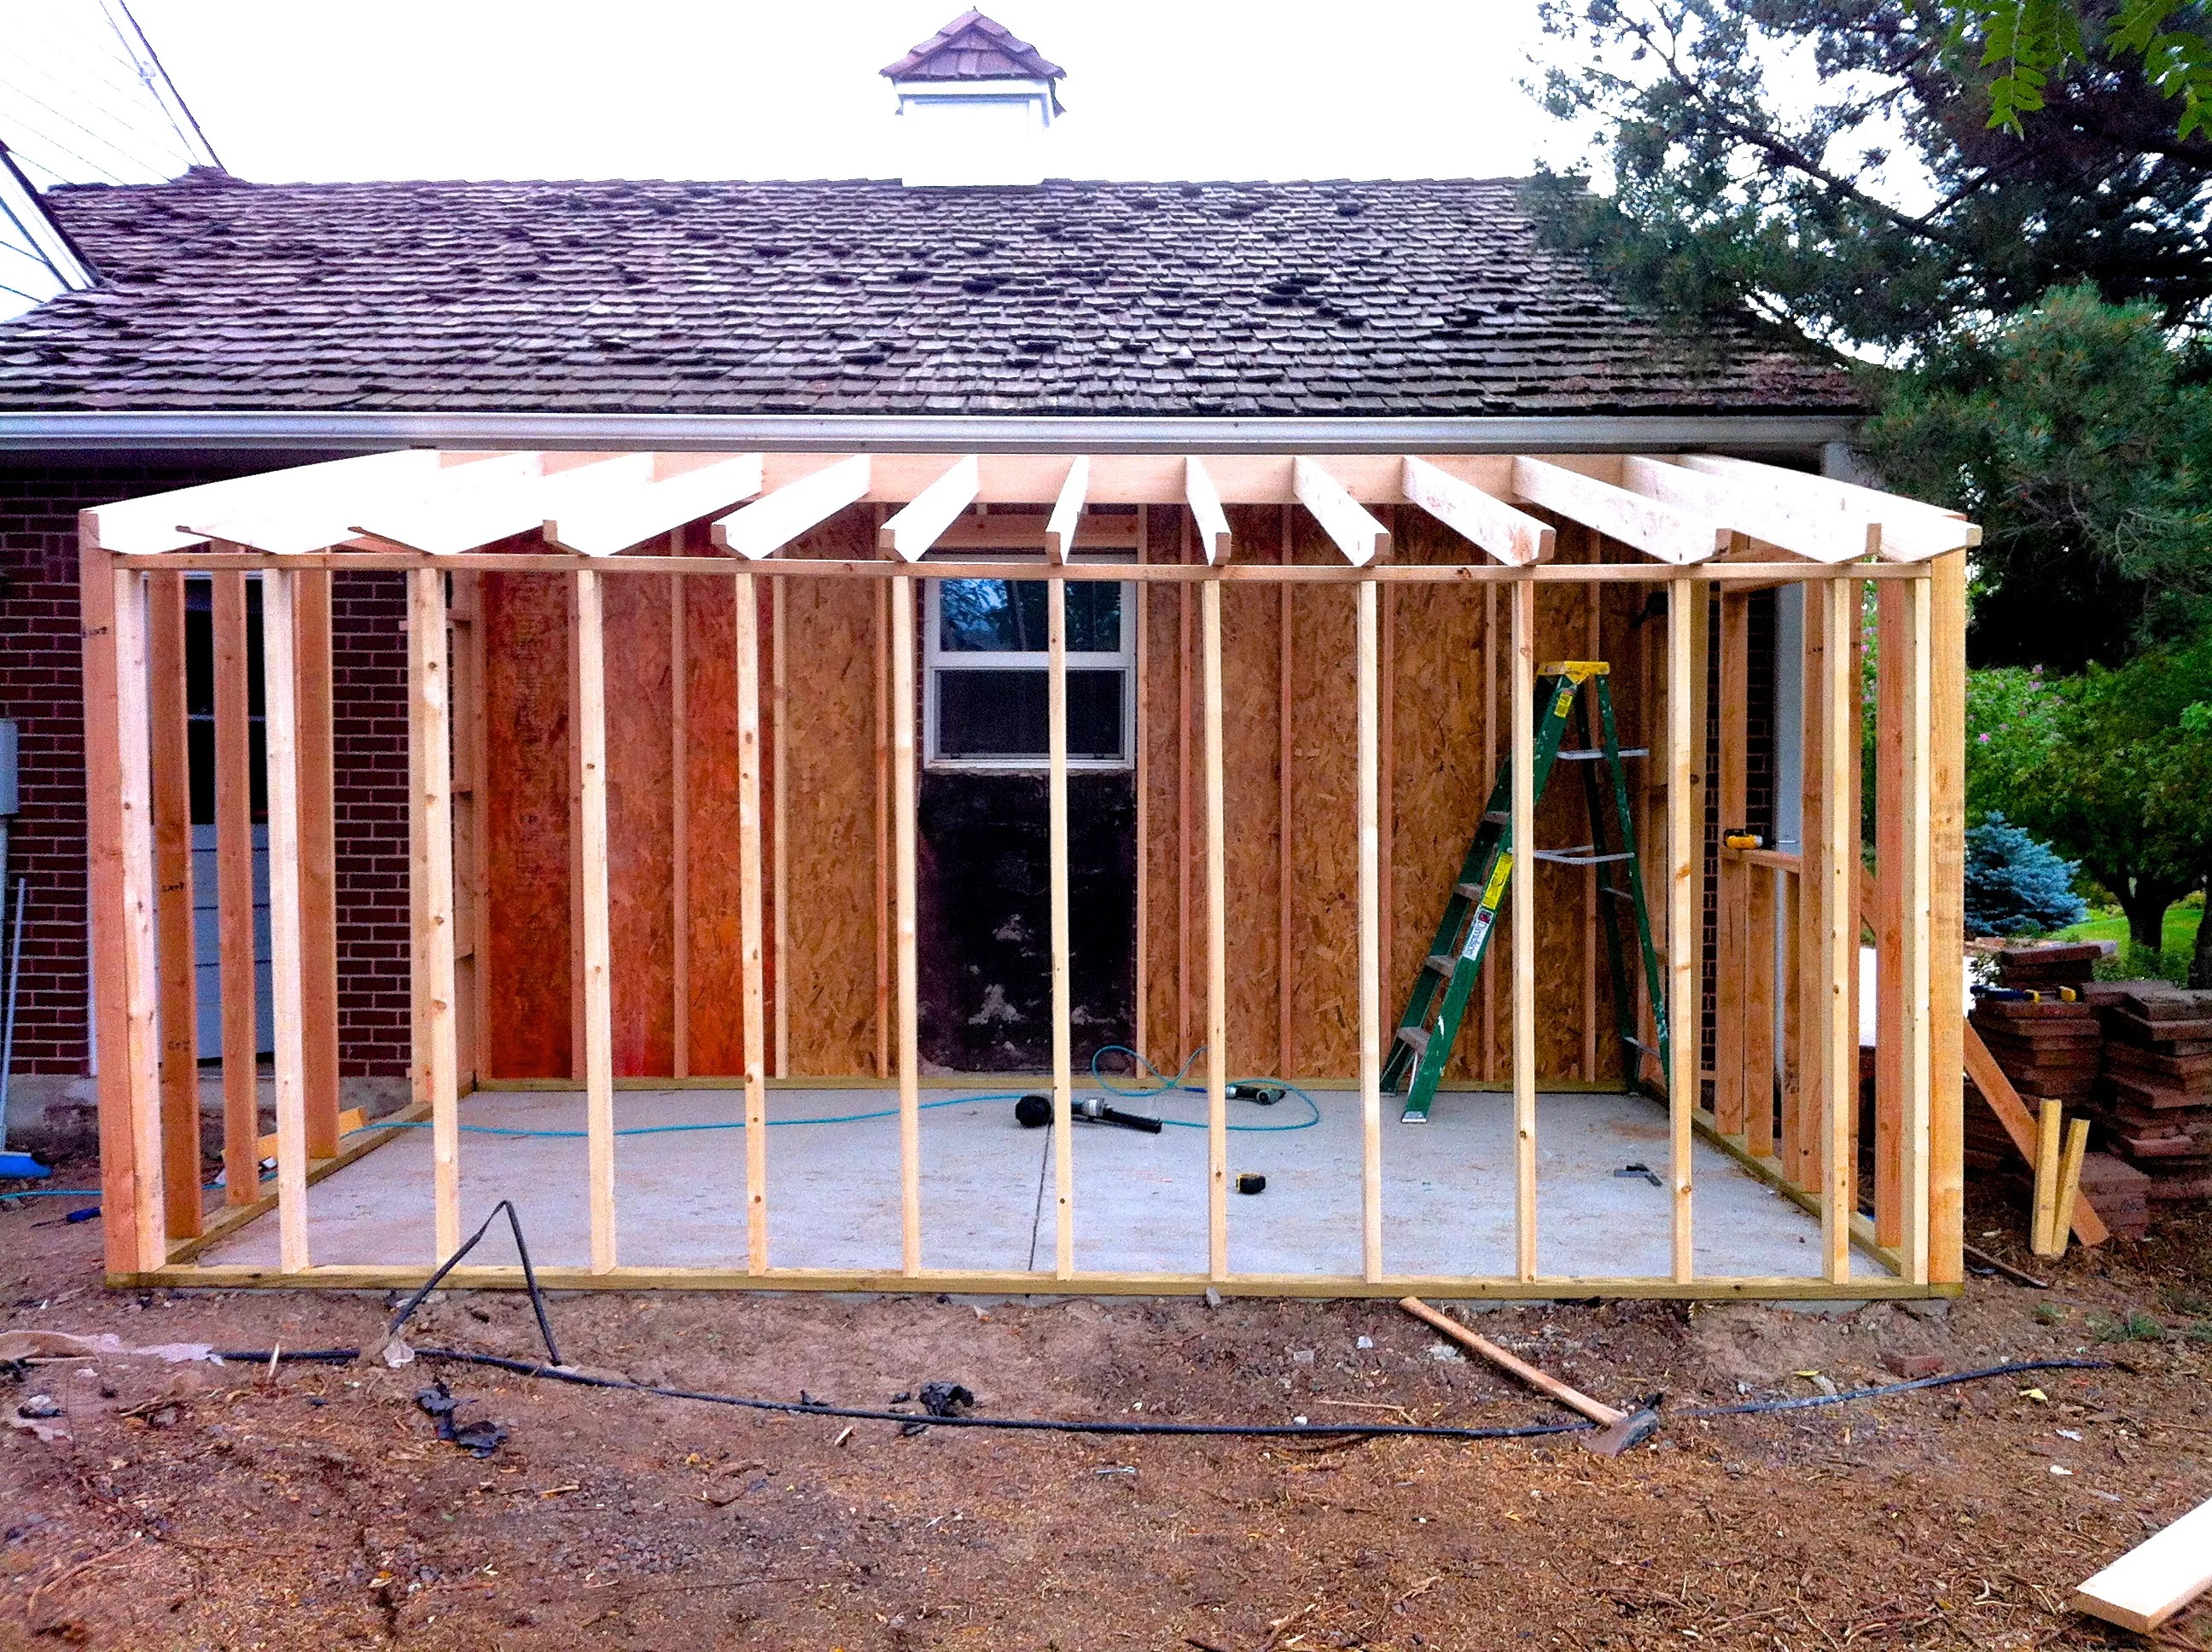
The first step in building the back wall of your lean to shed is to measure and cut the lumber for the framing. The size and design of your shed will determine the dimensions of the back wall. Measure and mark the locations of the wall studs on the top and bottom plates of the framing lumber, ensuring that they are spaced evenly and according to your shed plans.
Use a circular saw or miter saw to make straight cuts on the lumber according to your measurements. Make sure the cuts are precise and square, as this will ensure the stability and alignment of the back wall.
Step 2: Assemble the Wall Framing
Once you have cut all the lumber for the back wall framing, it's time to assemble the wall. Lay the bottom plate on the ground, and align the wall studs on top of it according to your measurements. Use a level to ensure that the studs are plumb (vertically straight) and level (horizontally straight).
Secure the studs to the bottom plate with nails or screws, ensuring that they are properly aligned and evenly spaced. Repeat the process with the top plate, aligning and securing the studs to it in the same manner. Check for squareness using a carpenter's square to ensure that the back wall is properly squared.
Next, add additional studs or framing as needed for windows, doors, or any other openings in the back wall, following your shed plans. Make sure all the framing is securely fastened and aligned properly to ensure stability and structural integrity.
Step 3: Sheath the Back Wall with Plywood
After assembling the back wall framing, it's time to sheath it with plywood for added strength and rigidity. Measure and cut plywood sheets to fit the back wall, leaving space for any openings such as windows or doors. Use a circular saw or miter saw to make straight cuts on the plywood.
Place the plywood sheets on the back wall framing, ensuring they are flush with the edges of the framing and properly aligned. Nail or screw the plywood sheets to the framing, spacing fasteners according to the manufacturer 's recommendations for your specific plywood thickness. Be sure to follow proper nailing or screwing techniques to prevent splitting or damaging the plywood.
If your shed plans call for insulation in the back wall, now is the time to install it before sheathing with plywood. Follow the insulation manufacturer's instructions for proper installation, ensuring that the insulation is snugly fit between the studs and properly secured.
Step 4: Add Windows and Doors
If your back wall includes windows or doors, now is the time to install them. Follow your shed plans and manufacturer's instructions for proper installation. Make sure the openings are properly framed and flashed to prevent water infiltration and ensure a weather-tight seal.
If your shed plans do not include windows or doors in the back wall, you may choose to add vents for proper air circulation inside the shed. Follow manufacturer's instructions for proper vent installation to prevent moisture buildup and promote ventilation.
Step 5: Check for Alignment and Squareness
Once you have completed the framing, sheathing, and installation of windows or doors, it's important to check for alignment and squareness of the back wall. Use a level, square, and measuring tape to ensure that the back wall is plumb, level, and square.
If any adjustments are needed, make them at this stage to ensure that the back wall is properly aligned and square. This will ensure that the rest of the shed construction will proceed smoothly and result in a sturdy and stable structure.
Step 6: Conclusion
Building the back wall of your lean to shed is a crucial step in the construction process. It provides stability, support, and protection against the elements. By following the steps outlined in this article, you can ensure that your back wall is properly framed, sheathed, and aligned, resulting in a strong and durable lean to shed.
Remember to always follow your shed plans and manufacturer's instructions for proper construction techniques and materials. Take the time to accurately measure and cut your lumber, properly assemble the framing, and securely fasten the plywood sheathing. Check for alignment and squareness at each stage of the construction process to ensure a successful build.
With careful planning, attention to detail, and the right materials and tools, you can confidently build the back wall of your lean to shed and enjoy a functional and attractive outdoor storage space for years to come.
0 comments:
Post a Comment
Note: Only a member of this blog may post a comment.