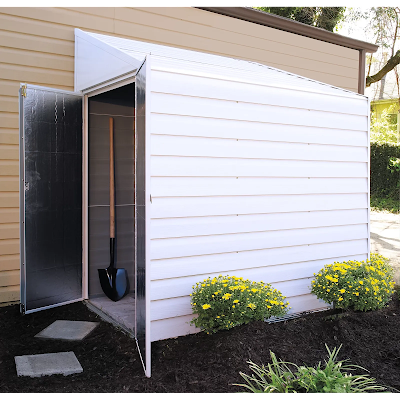
Adding a lean-to extension to your existing metal shed can significantly increase your storage space and provide additional functionality. Whether you need extra room for gardening tools, equipment, or workspace, a lean-to off a metal shed offers a cost-effective and efficient solution. In this article, I will guide you through the process of building a lean-to extension onto your metal shed, allowing you to maximize the utility of your outdoor storage area.
Step 1: Plan and Design
The first step in building a lean-to off a metal shed is to plan and design your extension. Determine the size and dimensions of the lean-to based on your storage needs and the available space around your metal shed. Consider the purpose of the extension and whether it will be used for storage, workspace, or as a sheltered area. Sketch out your design, including measurements and details, to ensure a smooth construction process.
Step 2: Gather the Materials
Before you begin construction, gather all the necessary materials for building the lean-to extension. Here's a list of the items you'll typically need:
- Pressure-treated lumber for the frame
- Metal roofing sheets or other suitable roofing material
- Screws or bolts for securing the structure
- Tools: measuring tape, circular saw, drill, level, ladder, and safety equipment
Make sure to have all the required materials on hand before starting the construction process to avoid delays.
Step 3: Prepare the Area
Clean the area where the lean-to will be attached to the metal shed. Remove any debris or obstructions and ensure the ground is level. This will provide a stable foundation for your lean-to extension.
Step 4: Build the Frame
Begin by constructing the frame of the lean-to extension. Use pressure-treated lumber to build the posts and beams according to your design. Attach the frame securely to the metal shed using screws or bolts. Ensure the frame is level and aligned properly to guarantee stability and structural integrity.
Step 5: Install the Roofing
Once the frame is in place, it's time to install the roofing material. Metal roofing sheets are a popular choice due to their durability and ease of installation. However, you can use other suitable roofing materials as well. Ensure the roofing material overlaps with the existing shed roof to prevent water leakage. Secure the roofing sheets to the frame using screws or bolts, making sure they are tightly fastened.
Step 6: Add Finishing Touches
To complete the construction of your lean-to extension, add any finishing touches that will enhance its functionality and aesthetics. Consider adding walls or screens to enclose the sides if desired. Install doors or access points for easy entry and exit. Add shelves, hooks, or storage solutions to maximize the organization of your new storage space.
Remember to prioritize safety throughout the construction process. If you are unsure about any step or aspect of the project, consult with a professional or seek expert advice.
Congratulations! You have successfully built a lean-to extension off your metal shed, providing valuable additional storage and workspace.

0 comments:
Post a Comment
Note: Only a member of this blog may post a comment.