Showing posts with label outdoor storage. Show all posts

Tuesday, June 20, 2023

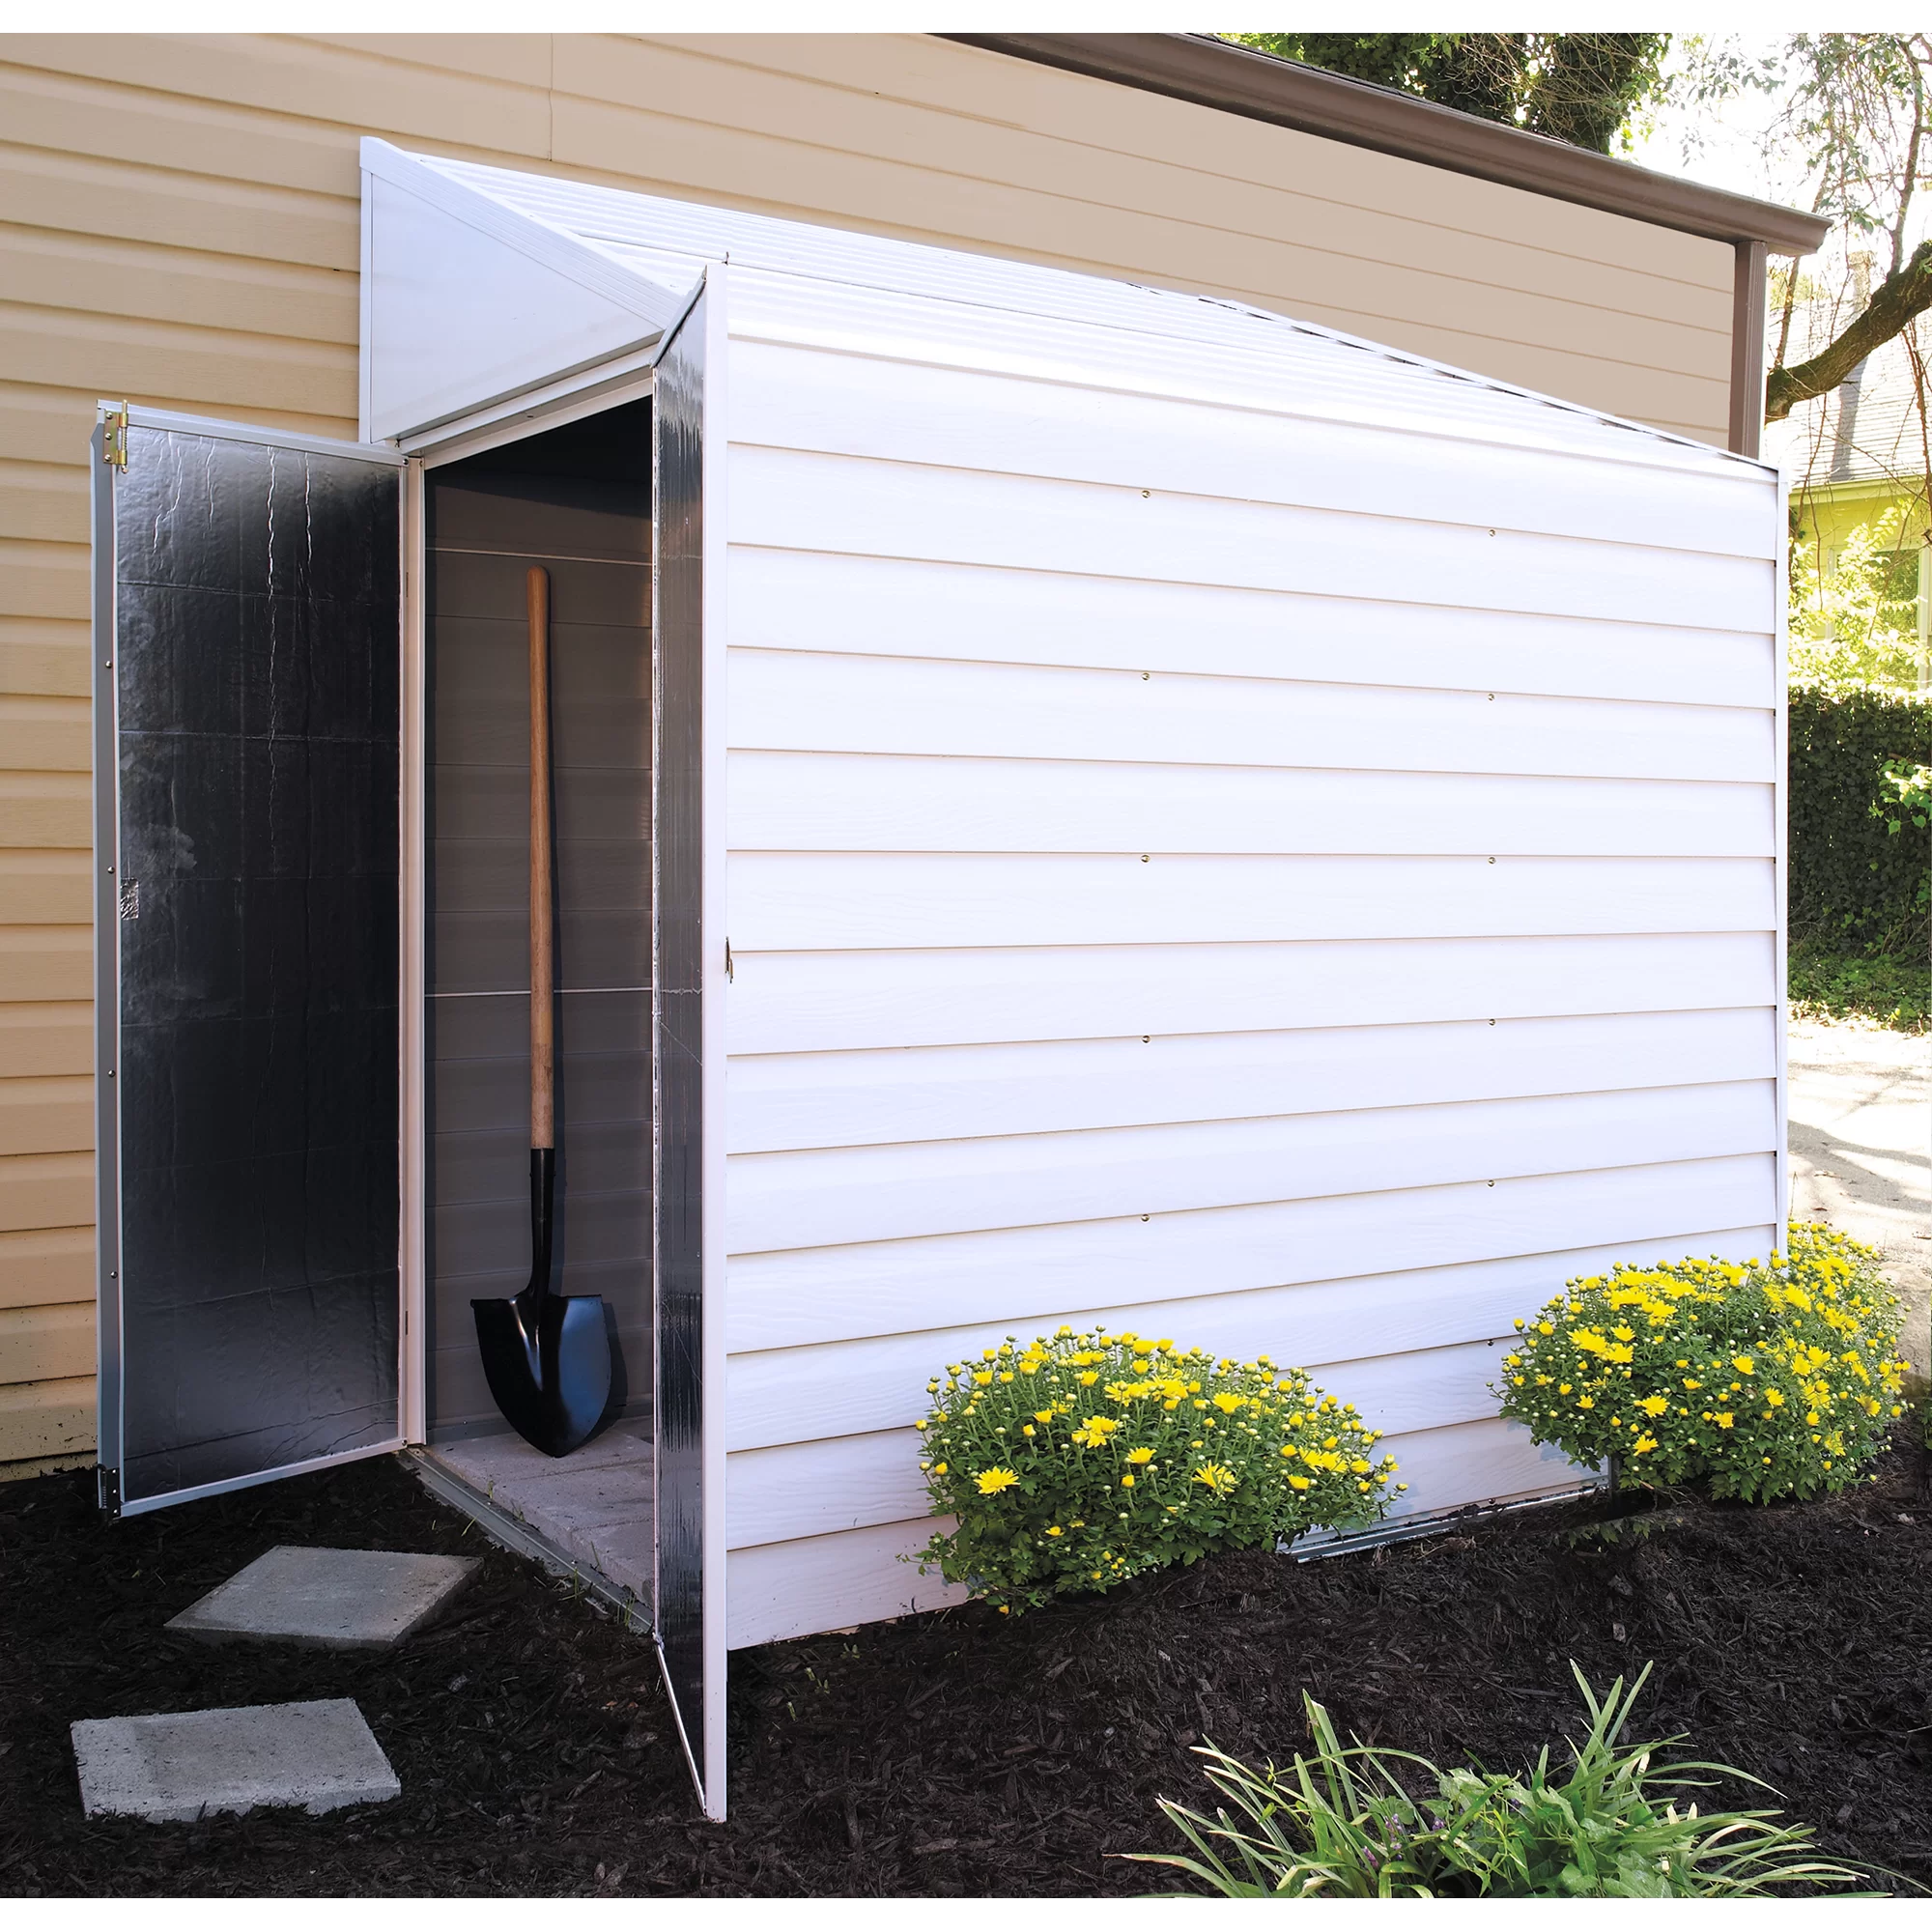
How to Build a Lean-To Off a Metal Shed

How to Build a Lean-To Off a Metal Shed

Adding a lean-to extension to your existing metal shed can significantly increase your storage space and provide additional functionality. Whether you need extra room for gardening tools, equipment, or workspace, a lean-to off a metal shed offers a cost-effective and efficient solution. In this article, I will guide you through the process of building a lean-to extension onto your metal shed, allowing you to maximize the utility of your outdoor storage area.

Step 1: Plan and Design

The first step in building a lean-to off a metal shed is to plan and design your extension. Determine the size and dimensions of the lean-to based on your storage needs and the available space around your metal shed. Consider the purpose of the extension and whether it will be used for storage, workspace, or as a sheltered area. Sketch out your design, including measurements and details, to ensure a smooth construction process.

Step 2: Gather the Materials

Before you begin construction, gather all the necessary materials for building the lean-to extension. Here's a list of the items you'll typically need:

  • Pressure-treated lumber for the frame
  • Metal roofing sheets or other suitable roofing material
  • Screws or bolts for securing the structure
  • Tools: measuring tape, circular saw, drill, level, ladder, and safety equipment

Make sure to have all the required materials on hand before starting the construction process to avoid delays.

Step 3: Prepare the Area

Clean the area where the lean-to will be attached to the metal shed. Remove any debris or obstructions and ensure the ground is level. This will provide a stable foundation for your lean-to extension.

Step 4: Build the Frame

Begin by constructing the frame of the lean-to extension. Use pressure-treated lumber to build the posts and beams according to your design. Attach the frame securely to the metal shed using screws or bolts. Ensure the frame is level and aligned properly to guarantee stability and structural integrity.

Step 5: Install the Roofing

Once the frame is in place, it's time to install the roofing material. Metal roofing sheets are a popular choice due to their durability and ease of installation. However, you can use other suitable roofing materials as well. Ensure the roofing material overlaps with the existing shed roof to prevent water leakage. Secure the roofing sheets to the frame using screws or bolts, making sure they are tightly fastened.

Step 6: Add Finishing Touches

To complete the construction of your lean-to extension, add any finishing touches that will enhance its functionality and aesthetics. Consider adding walls or screens to enclose the sides if desired. Install doors or access points for easy entry and exit. Add shelves, hooks, or storage solutions to maximize the organization of your new storage space.

Remember to prioritize safety throughout the construction process. If you are unsure about any step or aspect of the project, consult with a professional or seek expert advice.

Congratulations! You have successfully built a lean-to extension off your metal shed, providing valuable additional storage and workspace.
Share:

Monday, June 19, 2023

How to Build a Walk-Through Lean-To Shed

How to Build a Walk-Through Lean-To Shed

A walk-through lean-to shed is a versatile and convenient outdoor structure that provides storage space while also offering a covered walkway. It can serve as a sheltered pathway from one area of your property to another, while also providing a practical storage solution. Whether you need a place to store gardening tools, bicycles, or other items, a walk-through lean-to shed can be a valuable addition. In this article, I will guide you through the process of building a walk-through lean-to shed, allowing you to create a functional and accessible outdoor space.

Step 1: Determine the Size and Location

Begin by determining the size and location of your walk-through lean-to shed. Consider the available space on your property and choose a location that allows for easy access and a convenient walkway. Measure the length, width, and height of the shed, taking into account the items you plan to store. Make sure to comply with any local building codes or regulations.

Step 2: Gather the Materials

Before you start building, gather all the necessary materials for your walk-through lean-to shed. Here's a list of the items you'll typically need:

  • Pressure-treated lumber for the frame and supports
  • Plywood or oriented strand board (OSB) for the walls and roof
  • Roofing material (such as metal sheets or shingles)
  • Nails or screws
  • Door hinges and latch
  • Tools: measuring tape, circular saw, hammer, drill, level, ladder, and safety equipment

Ensure you have all the necessary materials on hand before you begin construction to avoid unnecessary delays.

Step 3: Build the Frame

Start by constructing the frame of your walk-through lean-to shed. Begin with the two end walls, ensuring they are plumb and securely fastened. Then, install the roof trusses, evenly spaced and securely connected to the end walls. Double-check all measurements and ensure the frame is level and stable.

Step 4: Install Walls and Roof

Attach the plywood or OSB sheets to the frame to form the walls and roof of your walk-through lean-to shed. Ensure they are securely fastened and provide a weatherproof barrier. Cut openings for the walkway entrance and any windows, if desired. Install the roofing material, such as metal sheets or shingles, to protect the shed from the elements.

Step 5: Add Doors and Finishing Touches

Install a walk-through door at one end of the shed, ensuring it is properly aligned and functions smoothly. Consider adding windows for natural light if desired. Apply a weather-resistant sealant or paint to protect the wood and enhance the appearance of your walk-through lean-to shed. Consider adding shelves, hooks, or storage solutions inside the shed to optimize its functionality.

Step 6: Create the Walkway

For the walkway section, use pressure-treated lumber or concrete slabs to create a solid and level pathway. Ensure that it is wide enough for easy movement and consider adding handrails for safety, if desired. Install any additional features you want along the walkway, such as lighting or seating areas.

Congratulations! You have successfully built a walk-through lean-to shed, providing both storage space and a covered pathway. Now you can enjoy the convenience and functionality of your new outdoor structure. Remember to prioritize safety during construction. If you are unsure about any step of the process, consult with a professional or seek expert advice.

Share:

Sunday, June 18, 2023

How to Build a Lean-In Storage Shed

How to Build a Lean-In Storage Shed

A lean-in storage shed is a practical and efficient solution for adding extra storage space to your property. Whether you need a dedicated area for gardening tools, outdoor equipment, or seasonal items, a lean-in storage shed offers a compact and accessible storage solution. In this article, I will guide you through the process of building a lean-in storage shed, allowing you to organize your belongings and create a clutter-free environment.

Step 1: Determine the Size and Location

The first step in building a lean-in storage shed is to determine the appropriate size and location for your needs. Consider the amount of storage space required and the available space on your property. Choose a location that is easily accessible and provides convenient access to your stored items. Take into account any local building codes or regulations that may affect the construction of your shed.

Step 2: Gather the Materials

Before you begin construction, gather all the necessary materials. Here's a list of the items typically required:

  • Pressure-treated lumber for the frame and supports
  • Plywood or oriented strand board (OSB) for the walls and roof
  • Roofing material (such as metal sheets or shingles)
  • Nails or screws
  • Door hinges and latch
  • Tools: measuring tape, circular saw, hammer, drill, level, ladder, and safety equipment

Make sure you have all the necessary materials on hand before you start building to avoid delays during construction.

Step 3: Build the Foundation

Start by preparing the foundation for your lean-in storage shed. Depending on your preference and local conditions, you can use concrete footings, concrete blocks, or gravel pads as a base. Ensure that the foundation is level and provides a stable surface for the shed.

Step 4: Construct the Frame

Once the foundation is in place, you can begin constructing the frame of the storage shed. Cut the pressure-treated lumber to the desired dimensions, following your chosen design. Build the walls and roof supports, ensuring that they are sturdy and properly aligned. Use nails or screws to secure the frame together.

Step 5: Install Walls and Roof

Attach the plywood or OSB sheets to the frame to form the walls and roof of your lean-in storage shed. Ensure that the panels are securely fastened and provide a weatherproof barrier. Cut openings for doors and windows, if desired. Install the roofing material, such as metal sheets or shingles, to protect the shed from the elements.

Step 6: Add Doors and Finishing Touches

Install the doors using hinges and a latch to secure the storage shed. Make sure the doors are properly aligned and can be easily opened and closed. Consider adding shelving or hooks inside the shed to maximize storage space and organization. Apply a weather-resistant sealant or paint to protect the wood and enhance the appearance of your lean-in storage shed.

Congratulations! You have successfully built a lean-in storage shed. Now you can enjoy the benefits of having a dedicated storage space for your belongings.

Remember to prioritize safety during construction. If you are unsure about any step of the process, consult with a professional or seek expert advice.

Share:

Thursday, June 15, 2023

Begin Your Project with 4x6 Lean to Shed Plans

Begin Your Project with 4x6 Lean to Shed Plans

If you've been longing for additional storage or workspace in your outdoor area, a 4x6 lean to shed can be the perfect solution. Whether you need a place to store gardening tools, outdoor equipment, or create a dedicated hobby space, starting your project with well-designed 4x6 lean to shed plans sets you on the path to success. Here's why you should begin your project with these plans and how they can transform your outdoor space.

1. Efficient Use of Space

A 4x6 lean to shed is specifically designed to optimize space utilization. Its compact footprint allows you to make the most of even the smallest outdoor areas. By starting with well-crafted plans, you ensure that every inch of your shed is utilized effectively, providing ample storage or workspace without overwhelming your yard.

2. Customizable Design

Starting with 4x6 lean to shed plans gives you the flexibility to customize the design to suit your specific needs. You can adapt the plans to include features such as windows for natural light, additional shelving for storage, or a built-in workbench for your projects. This customization ensures that your shed is tailored to your requirements and enhances its functionality.

3. Step-by-Step Instructions

High-quality 4x6 lean to shed plans come with detailed step-by-step instructions, making the construction process easier and more manageable, even for beginners. From the foundation to the roof, you'll have clear guidance on each stage of the project, ensuring that you build a structurally sound and durable shed.

4. Cost Savings

By starting your project with 4x6 lean to shed plans, you can save money on design fees and potential mistakes. The plans provide a comprehensive list of materials and tools needed for the project, helping you estimate costs accurately. Additionally, having a well-designed shed ensures efficient use of materials, minimizing waste and unnecessary expenses.

5. Enhance Outdoor Organization

A 4x6 lean to shed is an excellent way to enhance outdoor organization. With dedicated storage space, you can keep your yard tidy and free from clutter. Store your gardening tools, lawn equipment, and outdoor toys in the shed, creating a more organized and visually appealing outdoor environment.

6. Increase Property Value

Adding a well-designed 4x6 lean to shed to your property can increase its value. Potential buyers appreciate the extra storage or workspace that a shed provides, making your property more appealing and marketable. It's a worthwhile investment that not only enhances your current living situation but also offers long-term benefits if you decide to sell your home in the future.

Embarking on your 4x6 lean to shed project with carefully crafted plans sets you up for success. You can create a functional and visually pleasing outdoor space while enjoying the satisfaction of building something with your own hands. So, grab your plans, gather your tools, and get ready to transform your outdoor area with a 4x6 lean to shed.

Share: